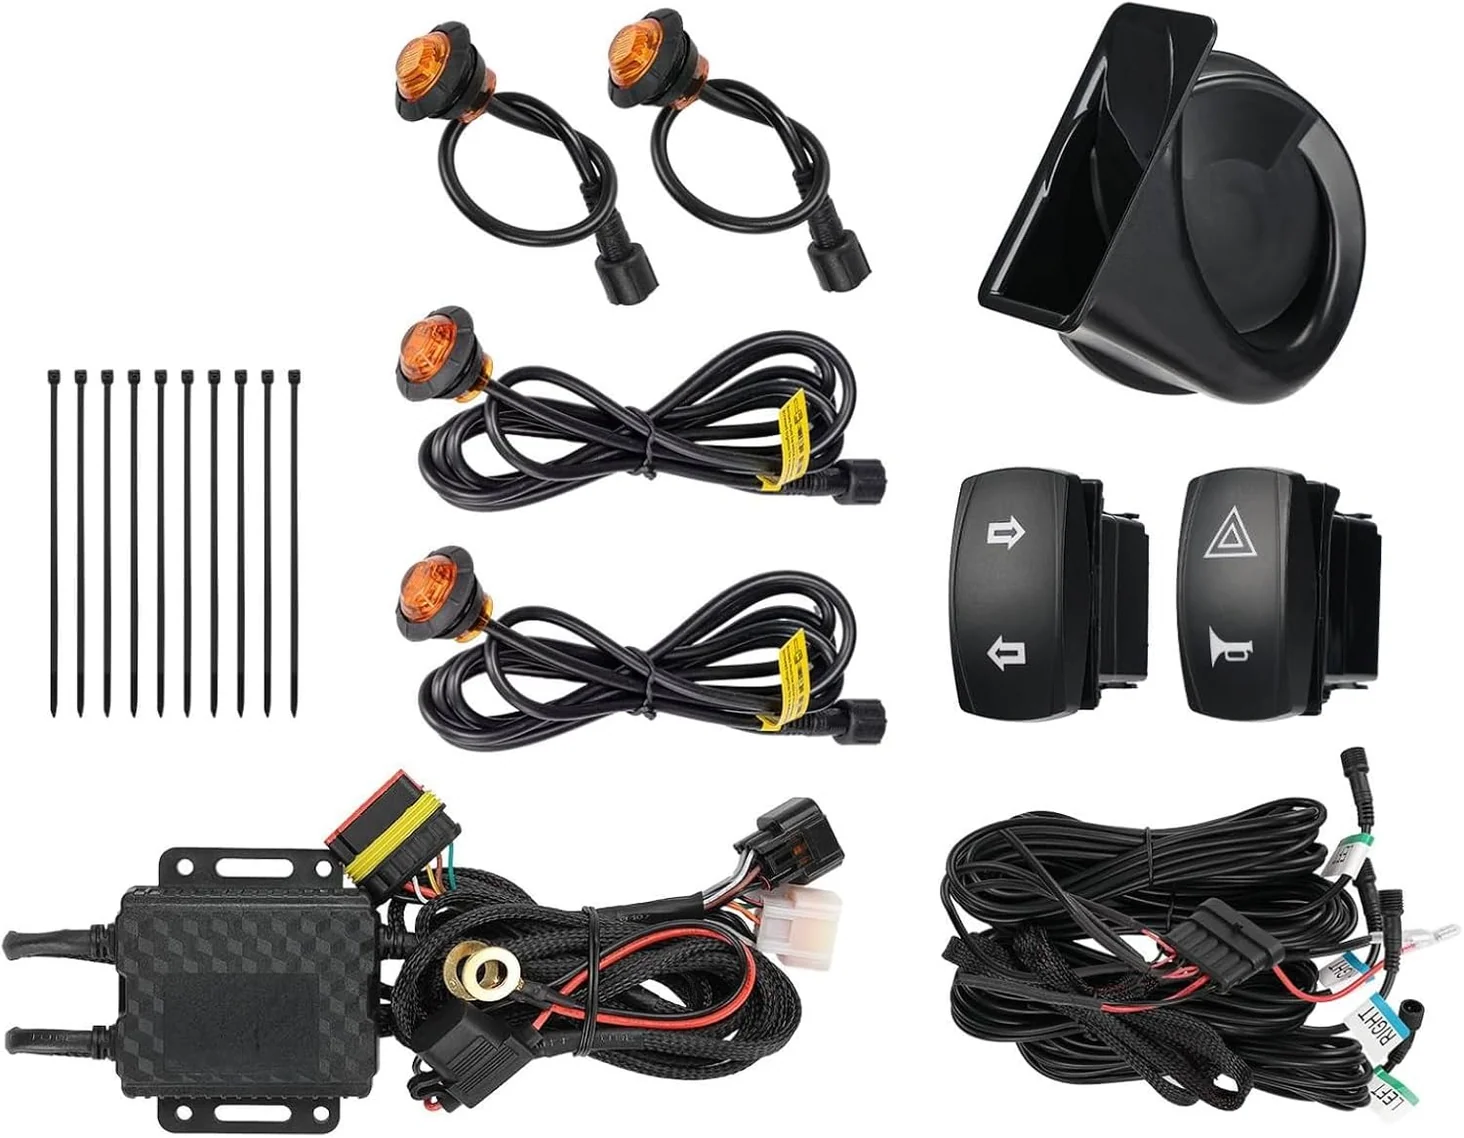
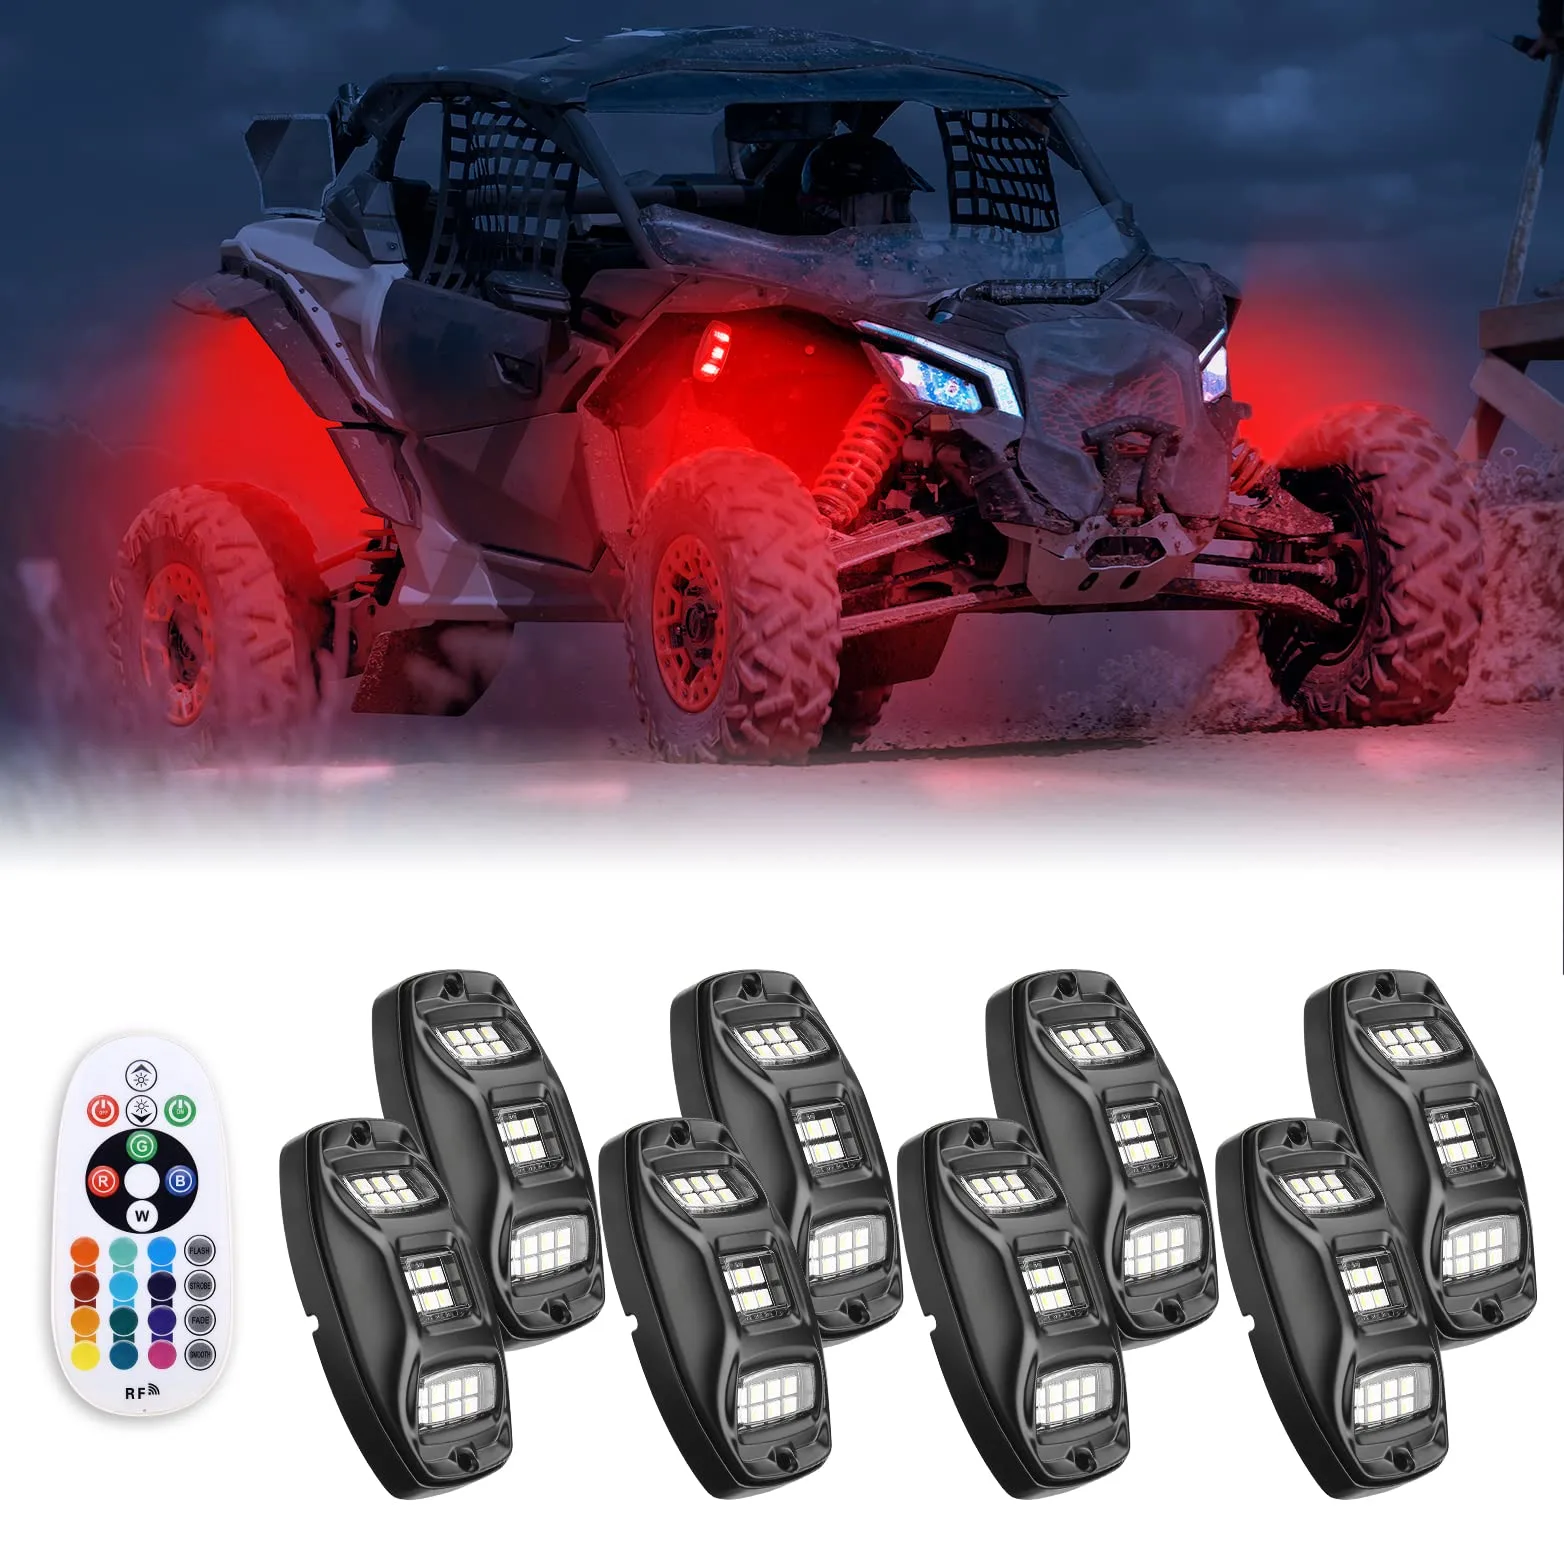
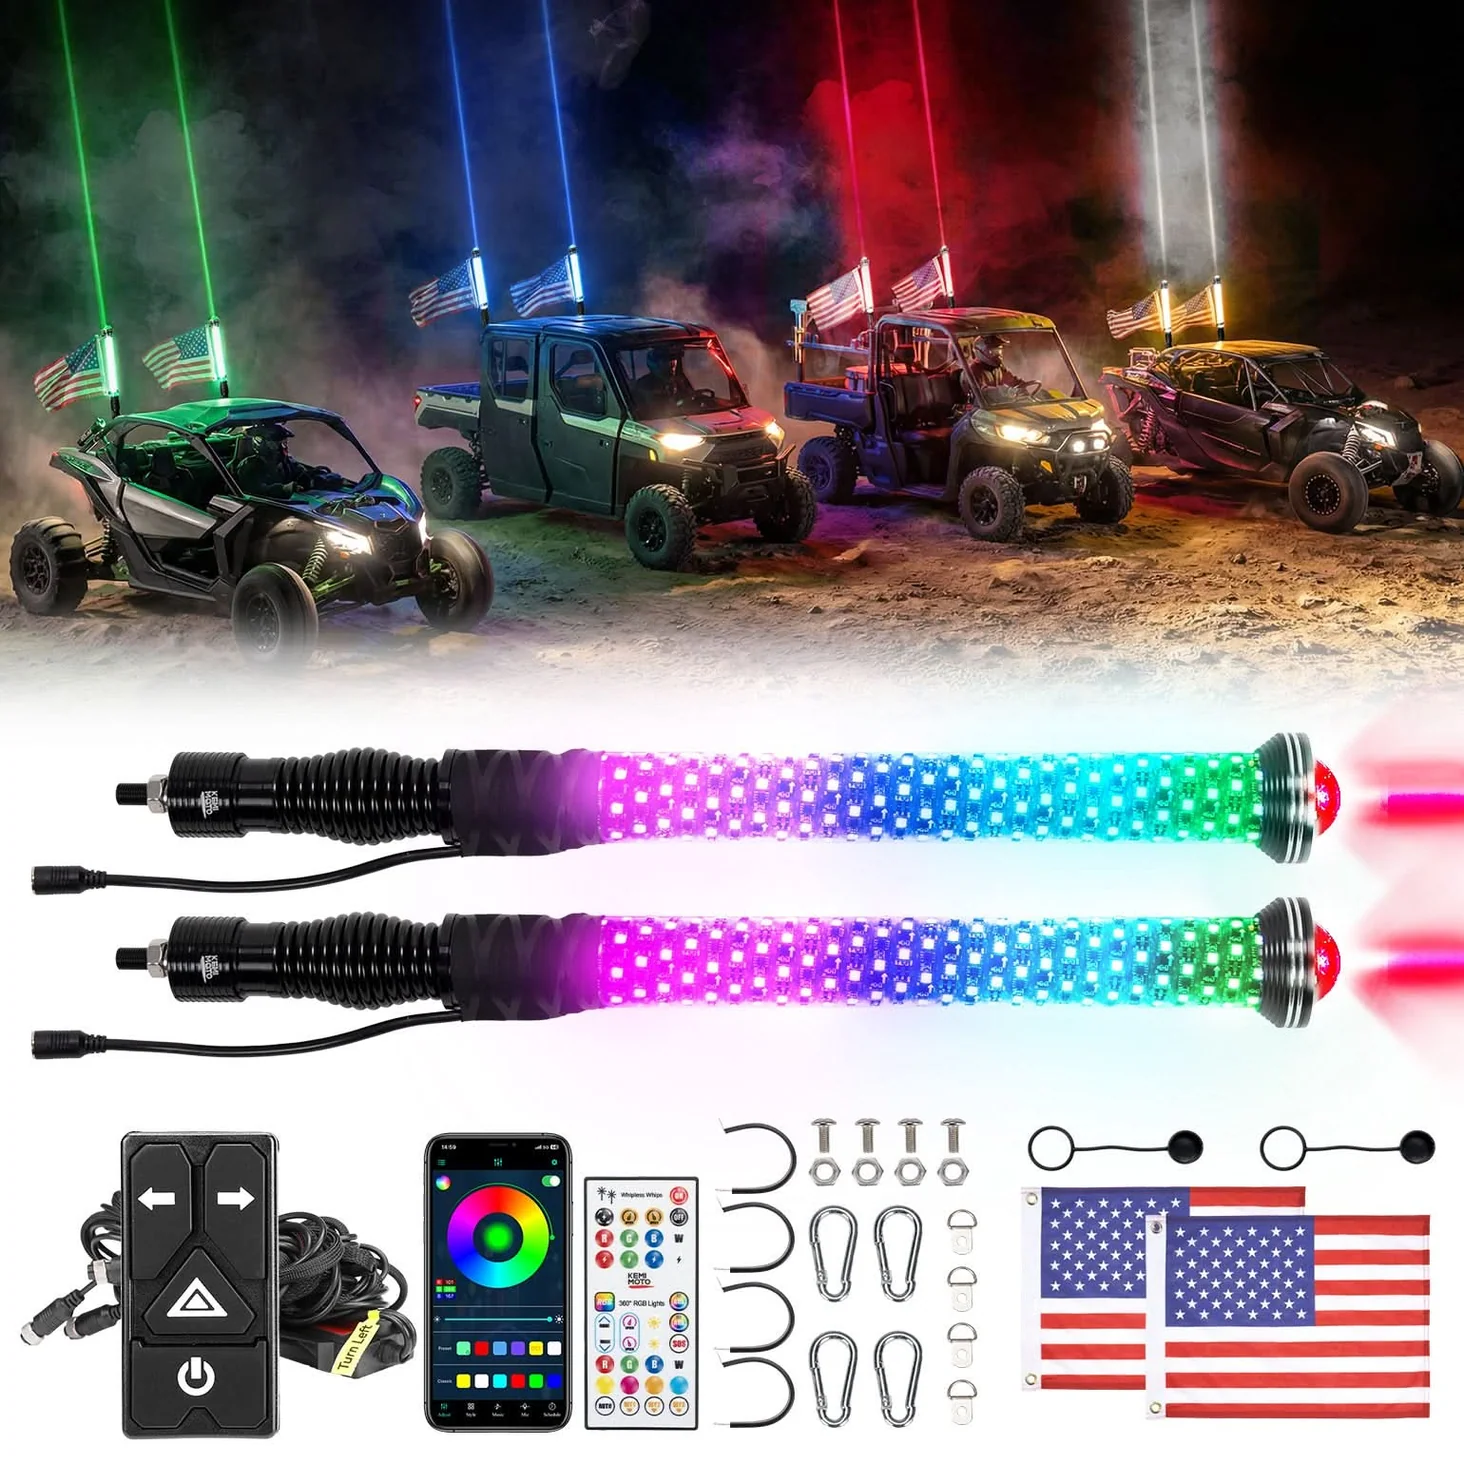
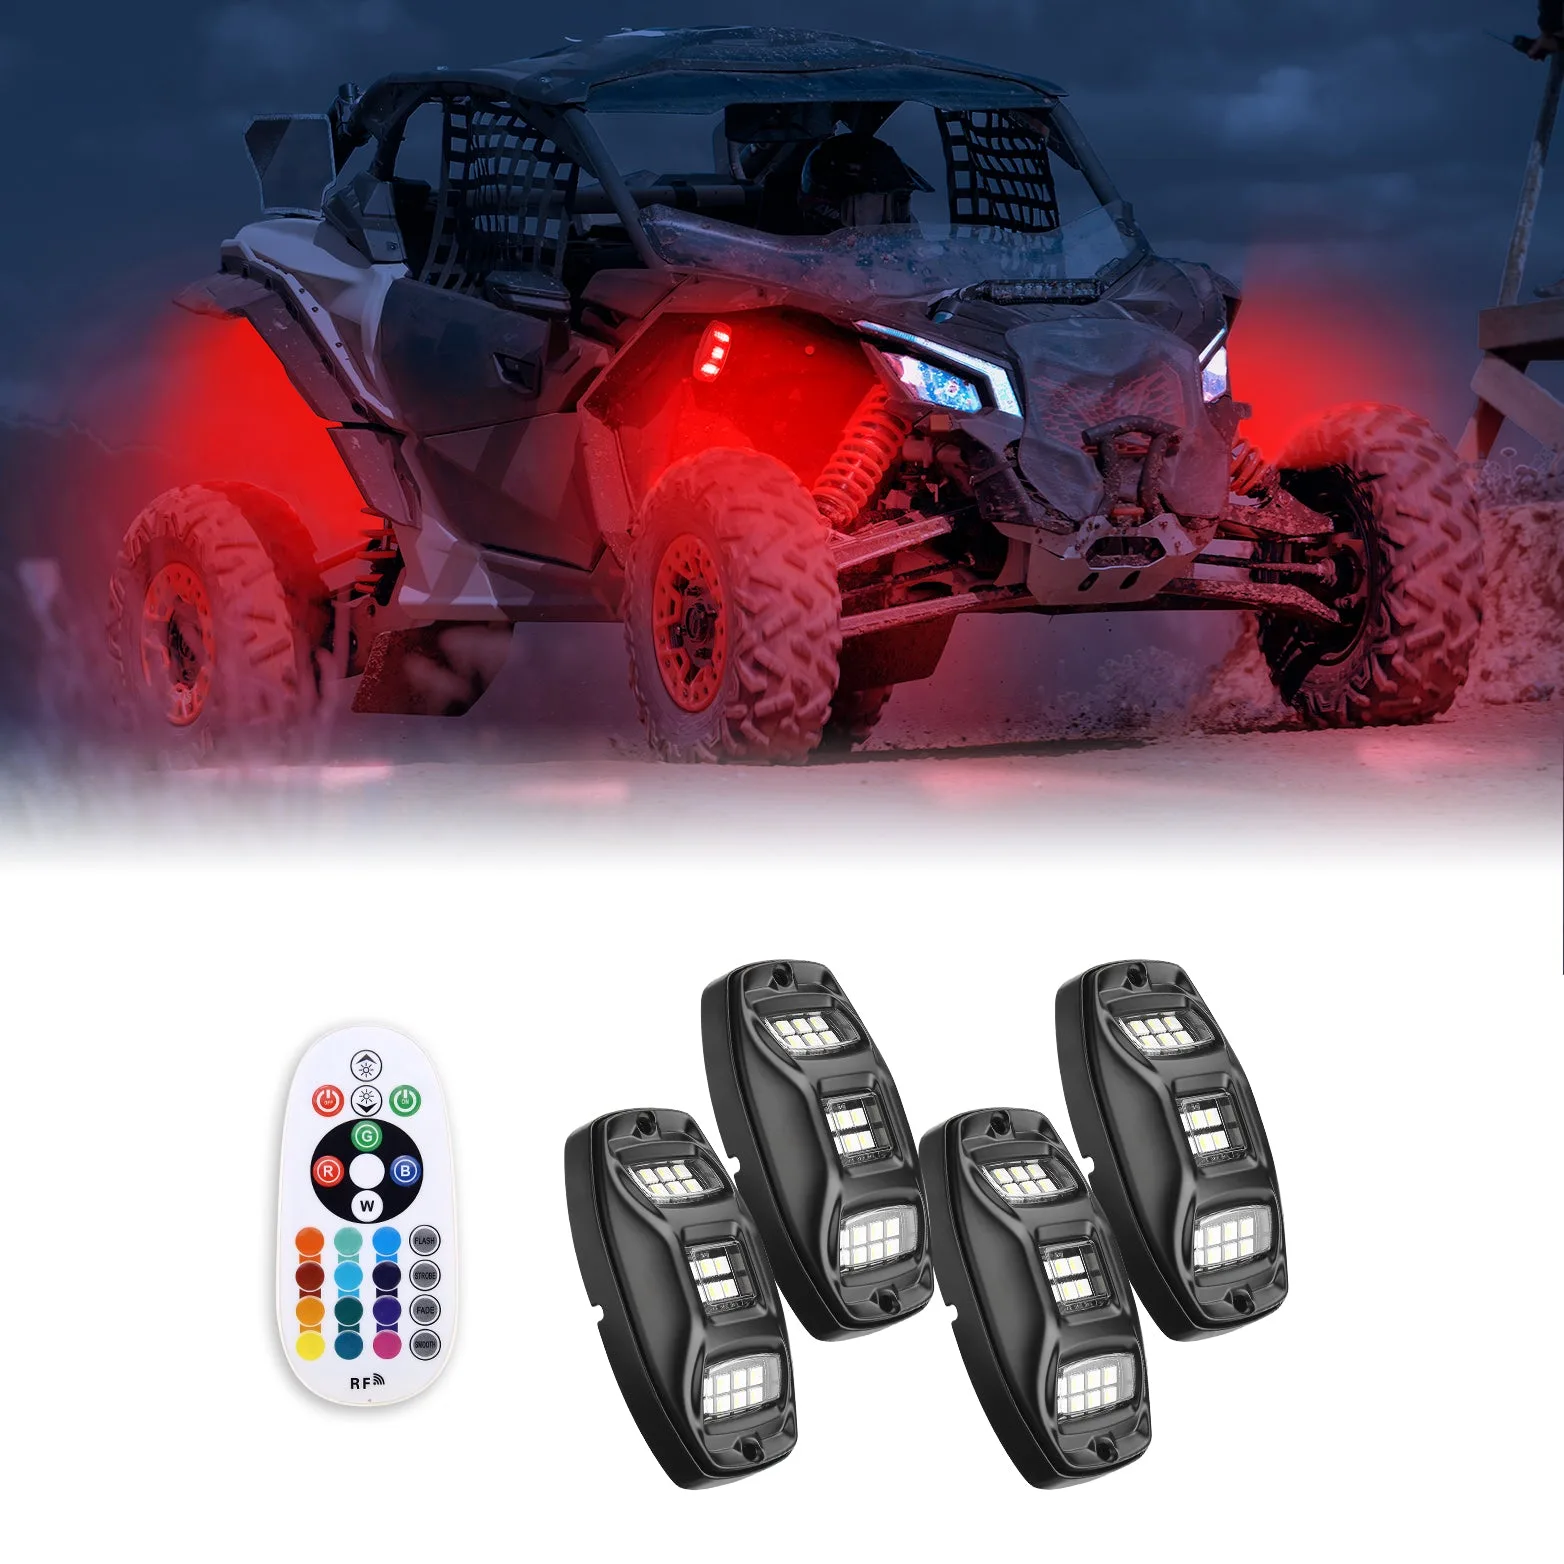
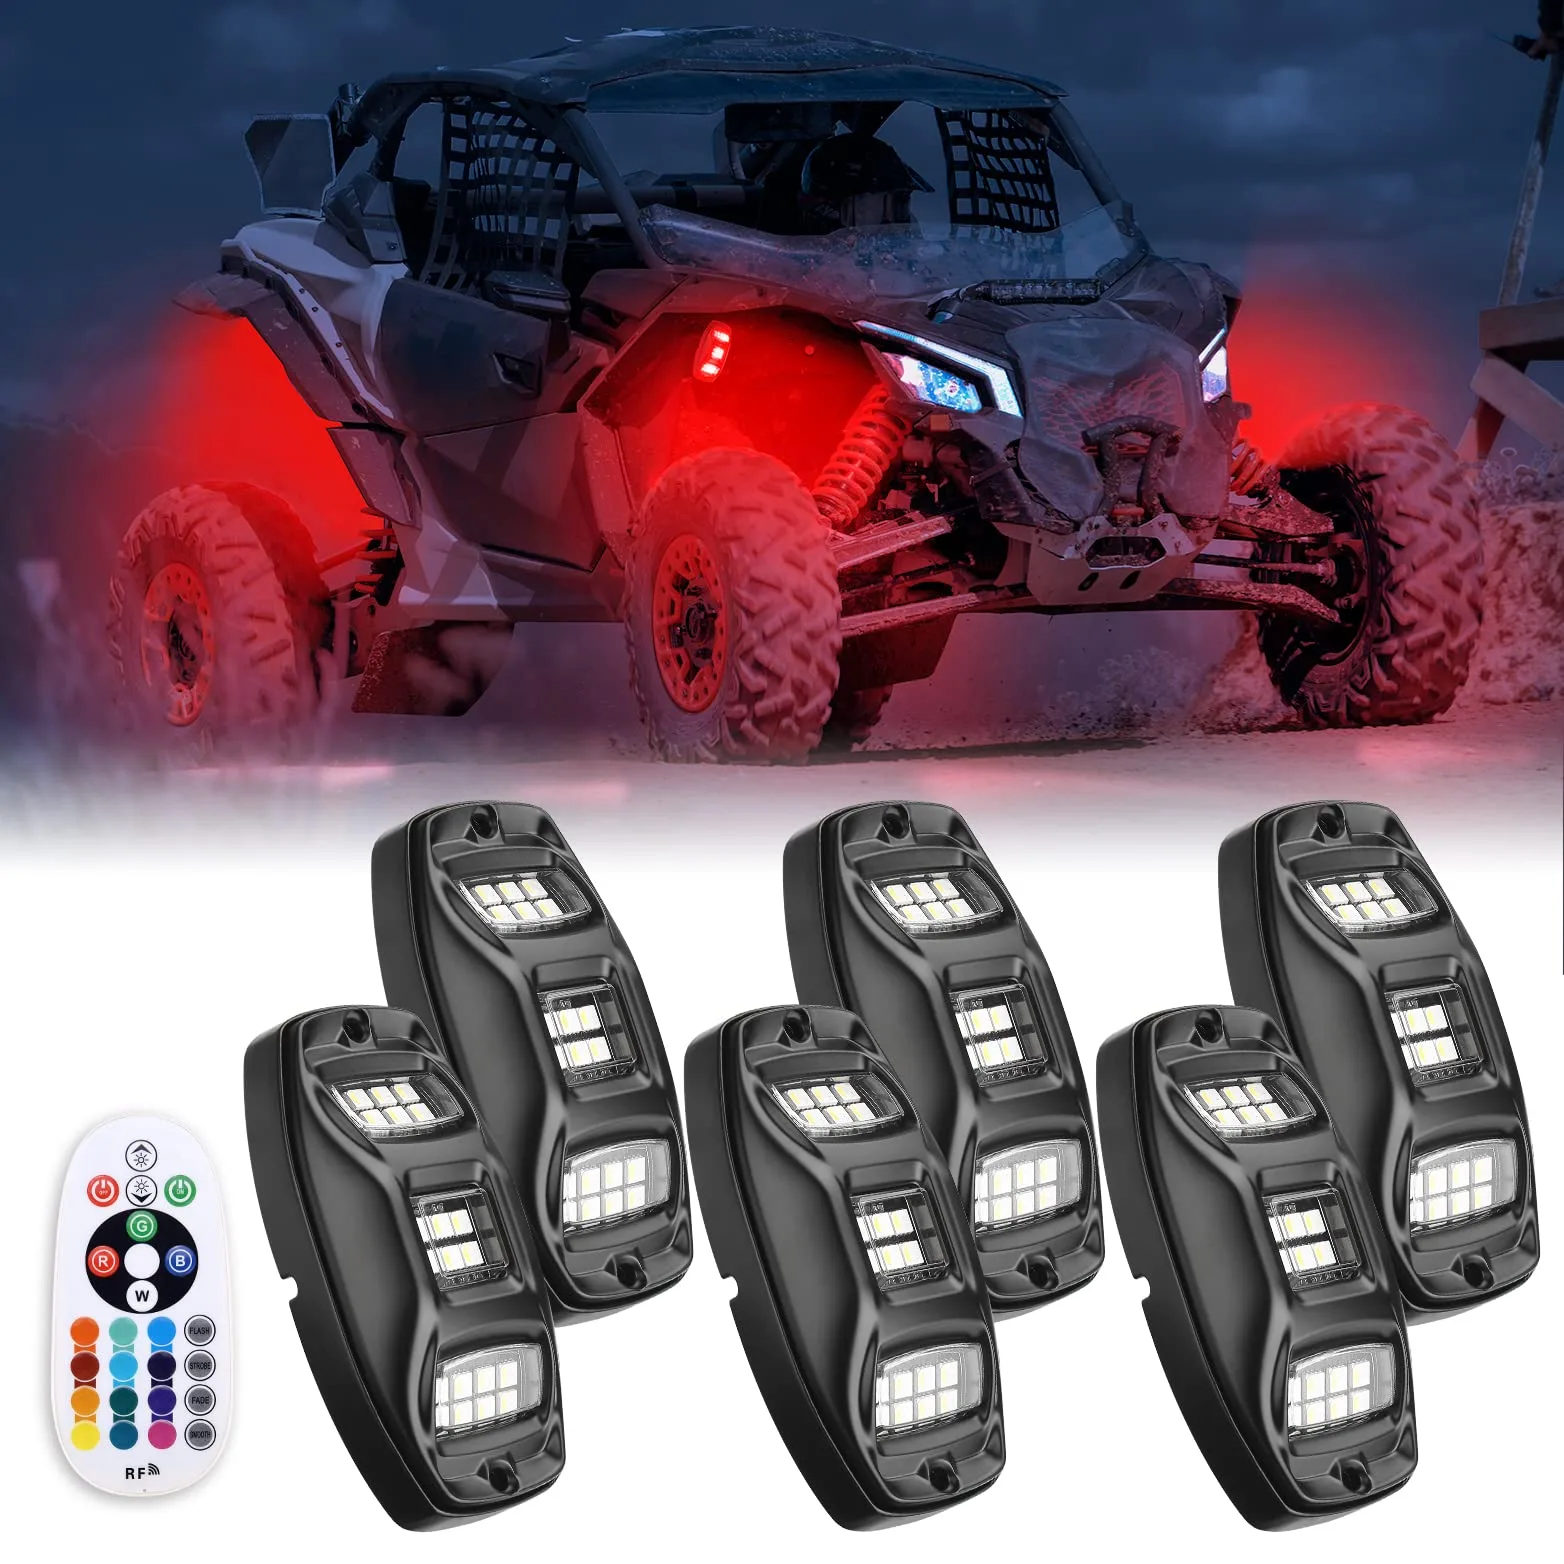
Can-Am Defender MAX lighting should help the machine do its regular work better, not simply add another part. For 2017–2026 models used for moving crews, hunting parties, and supplies across large properties, the right choice must fit correctly, survive repeated use, and leave the operator with a machine that is still easy to load, maintain, and control. The longer multi-row chassis carries people well, but accessories must protect passenger space and account for the extended cab.
MAX roofs, doors, windshields, and cage-mounted parts are often longer or use different brackets than two-row Defender parts. That is why every result on this page is filtered for the Can-Am Defender MAX, but the product fitment note still deserves a final check before purchase. Account for the installed roof, windshield, doors, racks, factory options, and any other accessory that shares the same mounting area.
Use the recommendations below to compare products by working value. The goal is to improve forward visibility, side coverage, loading, reversing, and after-dark work around the machine. Choose the simplest setup that handles the real load and conditions; unnecessary size and weight can reduce payload, block useful space, create rattles, or make routine service harder.
Showing lighting that fit the 2017–2026 Can-Am Defender MAX
Use a focused driving beam for distance and flood or scene lights for gates, beds, and work areas. More raw wattage does not replace good placement. For this Can-Am Defender MAX, max roofs, doors, windshields, and cage-mounted parts are often longer or use different brackets than two-row defender parts.
02
Protect the electrical system
Run higher-draw lights through a fused relay harness and weather-resistant connectors. Confirm the machine can support the combined accessory load at low speed.
03
Mount for useful light
Keep hood glare out of the driver's eyes, protect fixtures from limbs, and place rear lights where cargo will not block them. Verify that the product specifically lists the MAX configuration and does not interfere with rear passengers, doors, or seat access.
Fitment and installation
Before you install
Before installation, set out the complete hardware and test-fit the assembly without forcing brackets into position. Verify that the product specifically lists the MAX configuration and does not interfere with rear passengers, doors, or seat access. Follow the product instructions and the vehicle owner's manual, use the stated torque values, protect wiring and hoses from abrasion, and do not drill into the ROPS unless both manufacturers expressly approve it.
After installation, operate every affected seat, door, latch, steering control, bed, and service panel through its full range. Check grounds, fuse sizing, connector seals, wire abrasion, and bracket tightness after the first several hours of use. A switch panel and rear work light usually create a more useful system than spending the full budget on one oversized front bar. Save this Can-Am Defender MAX in your garage to keep confirmed-fit products easy to identify as the catalog grows.
+How do I choose lighting for a Can-Am Defender MAX?
Confirm the exact 2017–2026 model, cab and seating configuration, then compare beam pattern for the actual task, safe fused wiring, mounting position and glare control. Use the fitment details on each product rather than relying on a universal label.
+Will all lighting fit every Defender MAX model year?
No. MAX roofs, doors, windshields, and cage-mounted parts are often longer or use different brackets than two-row Defender parts. Check the listed model years and account for factory or aftermarket parts already installed in the same area.
+What should I inspect after installing lighting?
Check grounds, fuse sizing, connector seals, wire abrasion, and bracket tightness after the first several hours of use. Also confirm that steering, braking, passengers, the dump bed, and routine maintenance access remain unaffected.
+What pairs well with lighting on a Can-Am Defender MAX?
A switch panel and rear work light usually create a more useful system than spending the full budget on one oversized front bar. Keep the complete build within the vehicle's payload, towing, and electrical ratings.